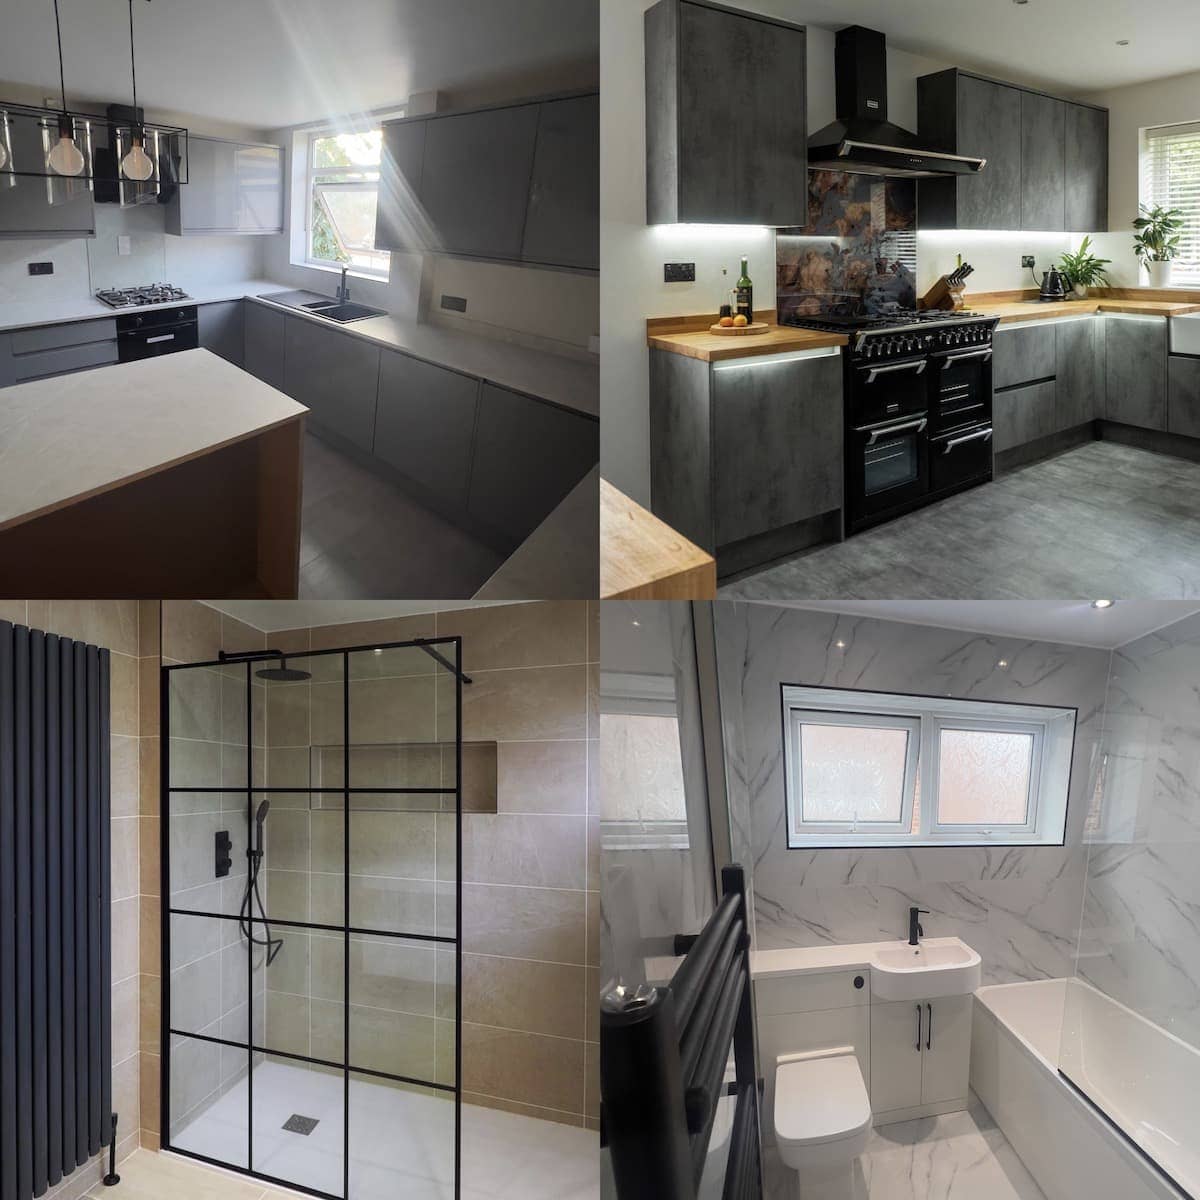
Bathroom Renovation Process
Bathroom renovation project process overview
Embarking on a bathroom renovation project can be both exciting and daunting. Whether you’re looking to refurbish your bathroom for aesthetic appeal, functionality, or accessibility, it’s crucial to have a well-thought-out plan in place. In this guide, we’ll take you through the entire process of a bathroom renovation project, highlighting key steps and considerations to ensure a smooth and successful transformation. From the initial client meeting to the final inspection, we’ll cover every aspect.
1) Meeting the Client and Understanding the Refurbishment Budget:
The first step in any bathroom refurbishment project is to meet with the client and gain a thorough understanding of their vision and requirements. This includes discussing their budget for the project, design preferences, and any specific needs such as disability access. A trusted bathroom fitter should take the time to listen to the client’s ideas and provide expert advice on how to achieve their goals within the given budget.
2) Agreeing on Project Start Date and Finalising Details:
Once the client’s requirements are clear, it’s time to agree on a bathroom project start date and finalise the details. This involves selecting specific items such as tiles, bathroom fixtures, and fittings. Additionally, any additional features like LED lighting, underfloor heating, or featured walls should be discussed and agreed upon at this stage. Transparent communication about the cost of waste management is also essential to avoid any surprises later in the project.
3) Project Start Date - Preparing the Area:
On the agreed-upon start date, the bathroom renovation team should arrive fully prepared to set up the workspace. This involves covering the area with dust sheets to protect surrounding surfaces and belongings from dust and debris.
4) Stripping Down bathroom to the Basics:
The next step is to strip down the existing bathroom to its bare essentials. This includes removing old fixtures such as toilets, shower trays, and sinks. Careful attention should be paid to ensuring there are no leaks or hidden issues that could affect the renovation process.
5) Plastering and Skimming:
With the bathroom now a blank canvas, plastering and skimming the walls provide a smooth surface for the next stages of the renovation. This step ensures that the walls are ready for tanking, tiling or painting.
6) Repairing or Replacing Floor Boards:
Addressing any damaged or weakened floorboards is crucial to ensure a solid foundation for the new bathroom. This step may involve repairs or complete replacement, depending on the condition of the existing floor.
7) Preparing Plumbing and Heating Systems:
A bathroom renovation often requires adjustments to plumbing and heating systems. This includes preparing drainage pipes, main water pipes, and ensuring that the heating system is compatible with any new bathroom features.
8) Preparing Ceilings and Electrical Wiring:
Before moving forward, it’s essential to address ceilings and electrical wiring. This may involve repairs or updates to meet safety standards and accommodate any new fixtures or lighting planned for the renovated bathroom.
9) Securing Floors with Cement Boards:
To create a stable and waterproof surface for tiles, securing the floors with cement boards is a crucial step. This ensures the longevity and durability of the bathroom floor.
10) Applying Tanking Kit:
Applying a tanking kit is a crucial step in the bathroom renovation process, especially when it comes to ensuring the longevity and durability of the space. Tanking refers to the process of creating a waterproof barrier in areas that are prone to moisture, such as bathrooms and wet rooms. This meticulous procedure prevents water penetration, protects underlying structures, and ultimately safeguards the investment made in the renovation. Let’s explore the intricacies of applying a tanking kit in a bathroom remodelling project.
Understanding the Purpose of Tanking:
Selecting the Right Tanking Kit:
Surface Preparation:
Applying the Tanking Membrane:
Sealing Joints and Corners:
Overlapping and Layering:
Testing for Integrity:
Allowing for Cure Time:
After successfully applying the tanking kit and ensuring its integrity, allowing for sufficient cure time is crucial. This period allows the adhesive compounds to fully set and the waterproof membrane to achieve its maximum effectiveness. During this time, it’s important to prevent any water exposure to the treated areas to ensure the tanking system’s long-term performance.
Applying a tanking kit in a bathroom renovation project is a fundamental step in safeguarding the space against water damage and ensuring its longevity. This meticulous process involves selecting the right tanking materials, preparing the surfaces, applying the membrane with precision, and conducting thorough integrity checks. By investing time and attention into this critical phase, renovators can provide clients with a bathroom that not only meets aesthetic expectations but also stands the test of time in terms of functionality and durability.
11) Tiling Walls and Floors:
Tiling walls and floors is a critical phase in the bathroom project process that not only adds a touch of elegance but also contributes to the overall functionality and longevity of the space. This step involves meticulous attention to detail, precise measurements, and skilled craftsmanship to achieve a polished and professional finish. Let’s delve deeper into the intricacies of tiling walls and floors in a bathroom renovation project.
Selecting the right tiles:
Preparing the Surface for tiling:
Planning the tiling style and layout:
Cutting and setting tiles:
Applying adhesive and setting tiles:
Finishing corners and edges:
Tiles grouting:
Sealing tiles:
Quality Assurance and Inspection:
12) Installing Bathroom Items:
With the groundwork complete, it’s time to install the new bathroom fixtures and fittings. This includes placing the toilet, sink, shower, and any other chosen items according to the agreed-upon design.
13) Sealing Corners:
To maintain the integrity of the renovation, it’s crucial to seal corners and edges thoroughly. This step adds an extra layer of protection against water infiltration and contributes to the overall aesthetics.
14) Inspecting Every Bathroom Item:
Before presenting the renovated bathroom to the client, a meticulous inspection of every item is necessary. This includes checking for any defects, ensuring proper functionality, and making any necessary adjustments.
15) Signing Off with the Client:
The final step in the bathroom renovation process is to sign off with the client. This involves a walkthrough of the completed project, addressing any remaining concerns, and obtaining the client’s approval. Clear communication and transparency throughout the process contribute to a satisfied client and a successful bathroom renovation.
A bathroom renovation project is a significant undertaking, requiring careful planning and execution. By following the detailed steps outlined in this guide, from the initial client meeting to the final inspection, bathroom renovators can ensure a smooth and successful transformation. Choosing a trusted bathroom fitter who prioritises communication, quality workmanship, and attention to detail is key to achieving the desired results within the specified budget. Whether you’re in need of bathroom services, a bathroom fitter, or bathroom remodelling in Manchester experts, this guide serves as a thorough resource for a smooth and satisfying renovation experience.