How to Replace a Shower with a Bath
Step-by-step guide to replacing a shower with a bath. Covers installation, plumbing, waterproofing, costs and design tips for UK homeowners.
Replacing a shower with a bath is an excellent way to enhance both the functionality and comfort of your bathroom, especially if you’re accommodating a growing family. Whether you’re planning a full bathroom remodelling or a targeted upgrade, this project walkthrough covers the entire process from strip-out to finished result.
Budget-Friendly Bath Installation Guide: Step-by-Step Process for a Durable and Professional Bathroom Renovation
In this specific project, we carefully removed an outdated shower and installed a durable, space-efficient bath that was designed to suit the needs of daily family life. Our goal was to create a bathroom that would combine durability, comfort, and soundproofing, all while ensuring technical precision throughout the renovation process. The entire project was completed in approximately 15 working days at a typical mid-range bathroom renovation cost and included a comprehensive structural overhaul—everything from plumbing updates and new walls to doors and finishes.
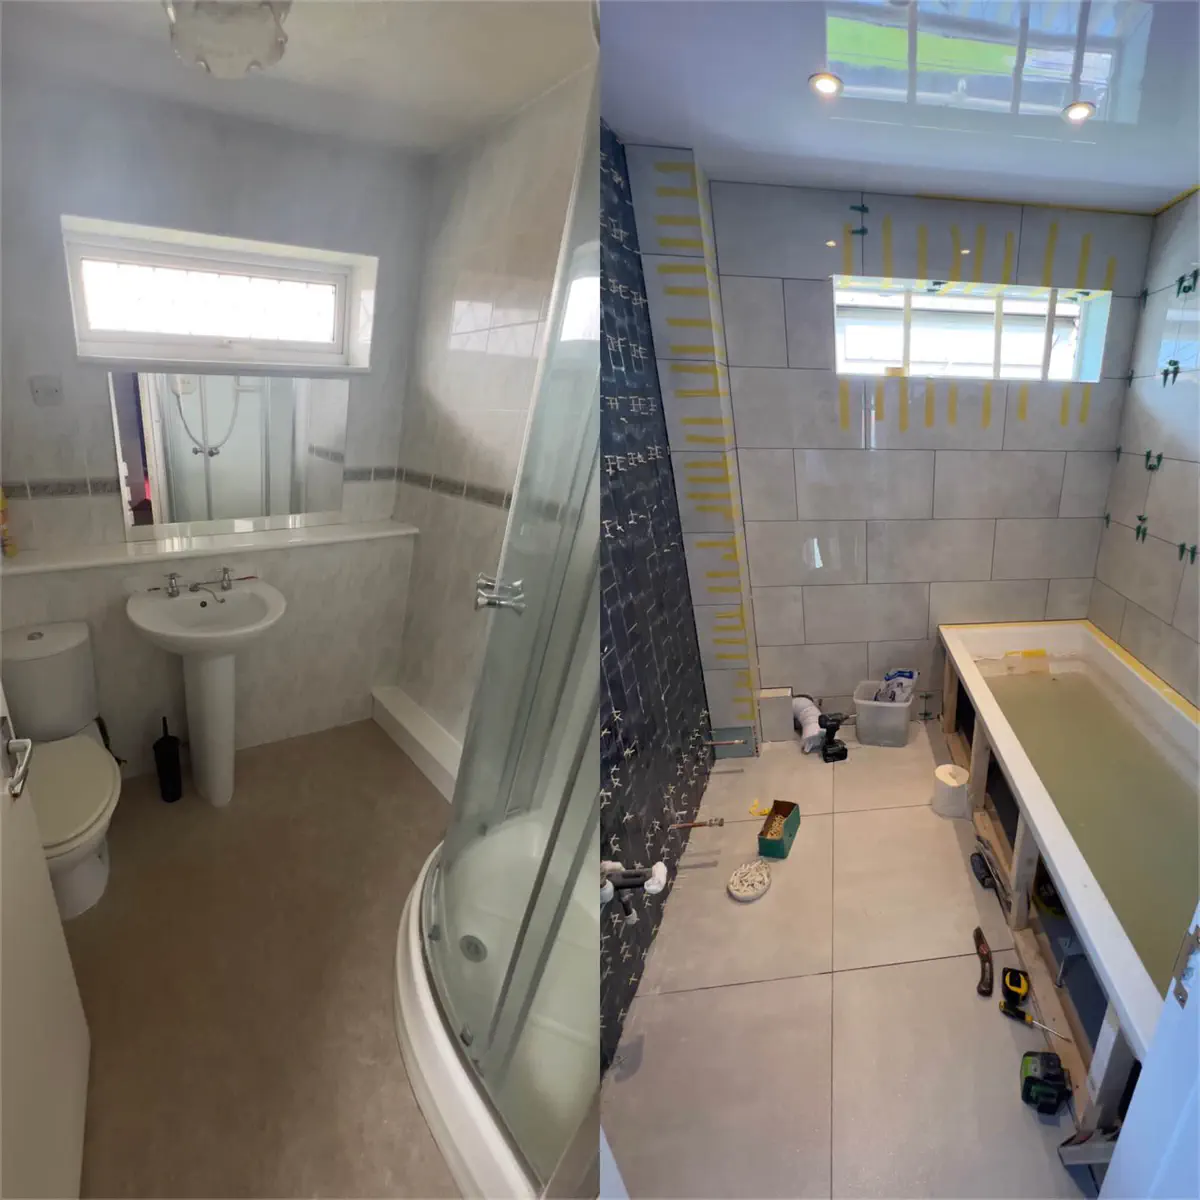
1. Full Bathroom Strip-Down and Preparation
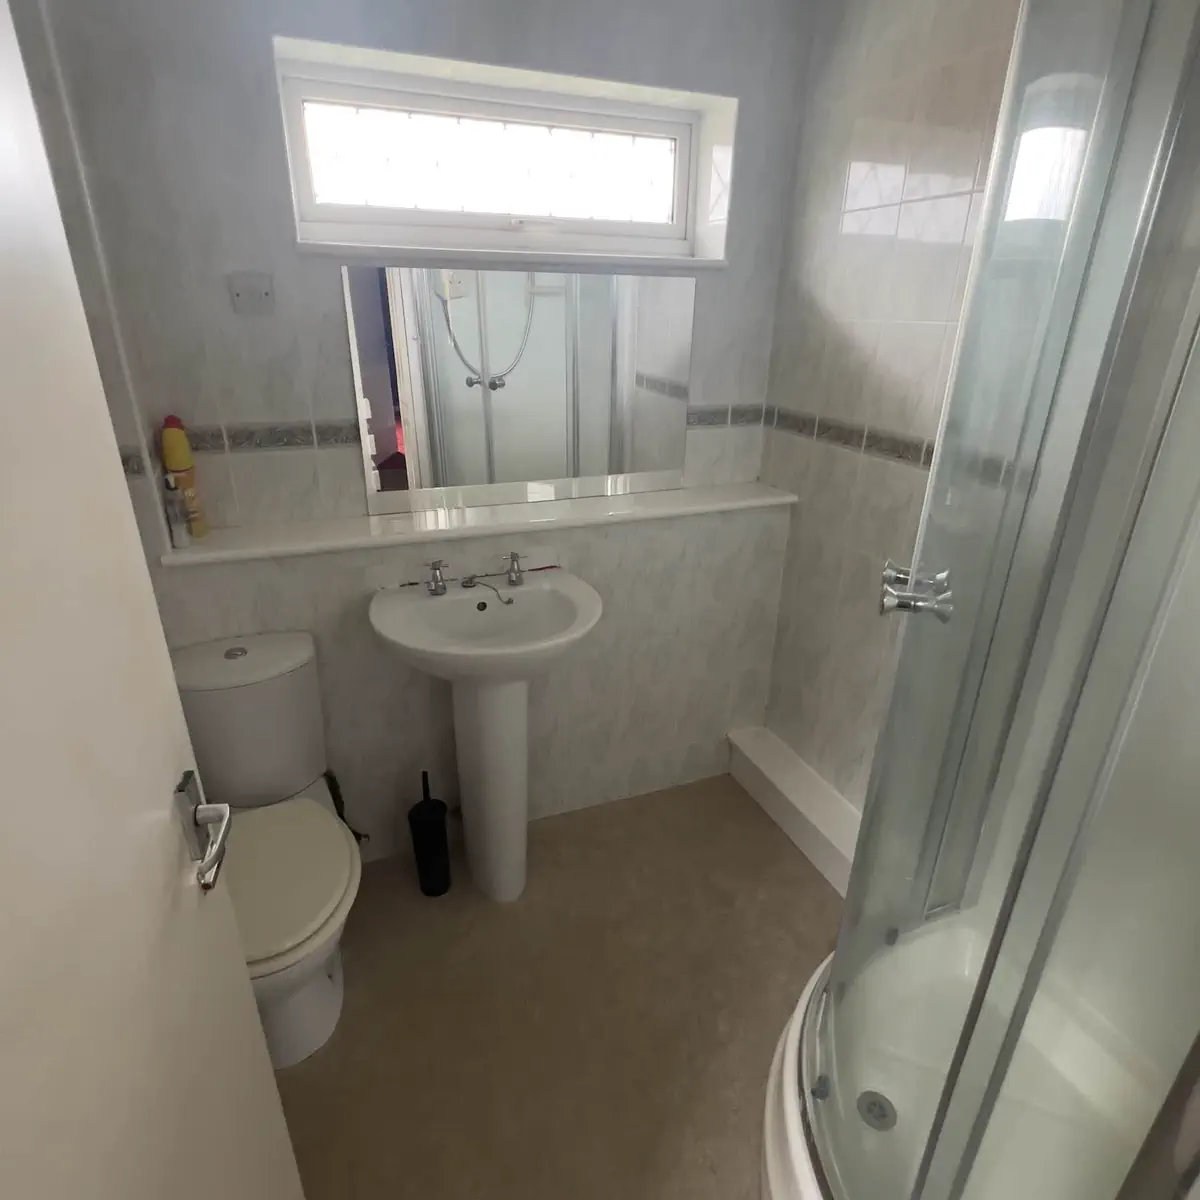
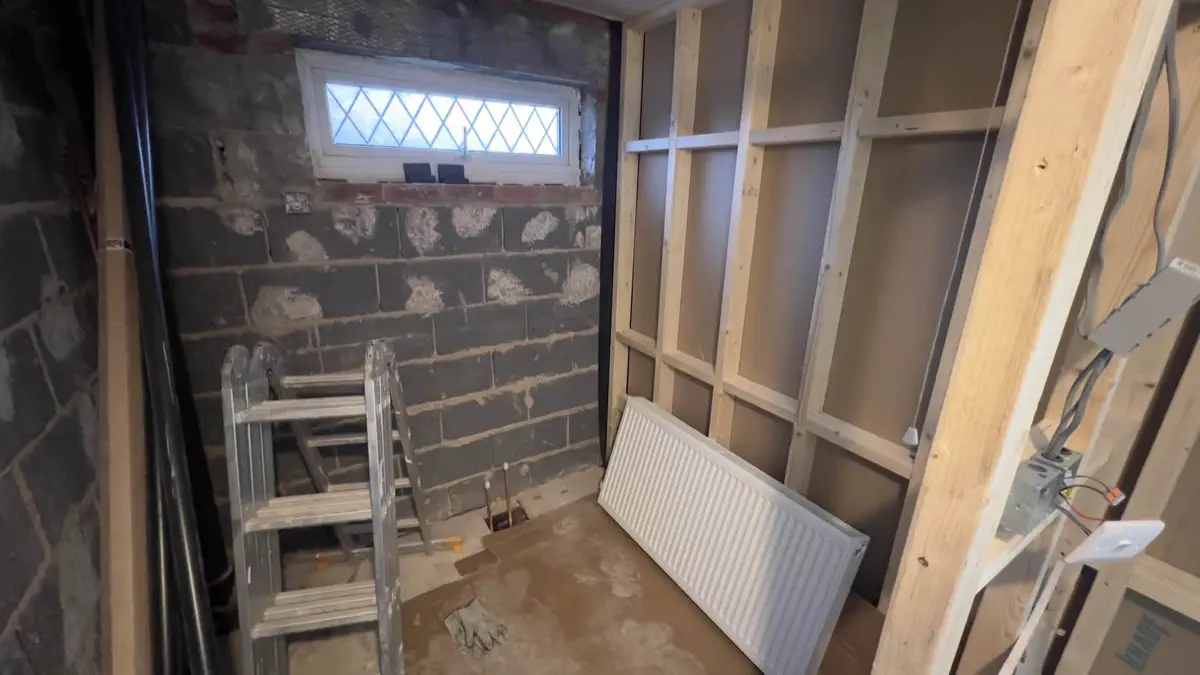
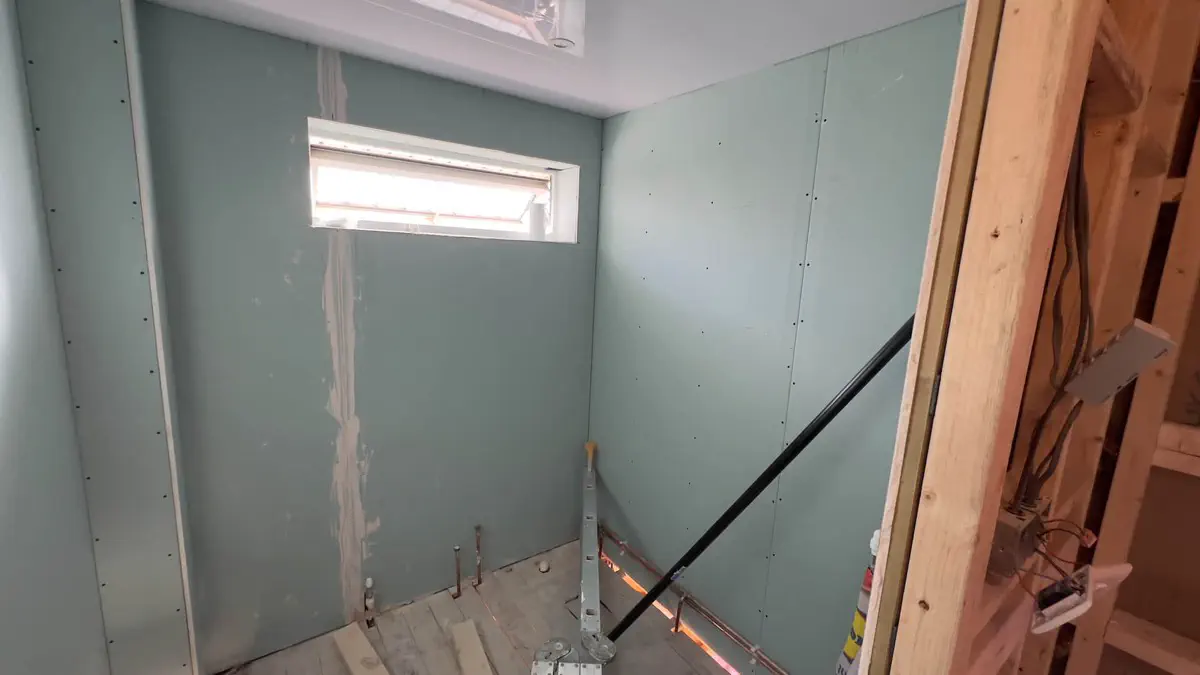
We started by completely stripping out the old bathroom, removing all outdated shower components, structural walls, tiles, flooring, plaster, and fixtures. The entire space was taken back to its bare structure to prepare for the new bath installation. Before this renovation, the house had undergone a full re-plumbing, ensuring we were working with fresh, clean copper pipework that would support the bath and plumbing for years to come. Additionally, the first-floor walls had been completely restructured to create more space in the bathroom and adjoining bedrooms. This provided the perfect foundation for our transformation. During the demolition, we discovered that the original framing lacked the necessary integrity to support the weight and structure of the new bath. Rather than moving forward with the existing framework, we took the opportunity to rebuild the bathroom structure, ensuring straight and true stud walls, as well as installing a new, appropriately sized door frame and door.

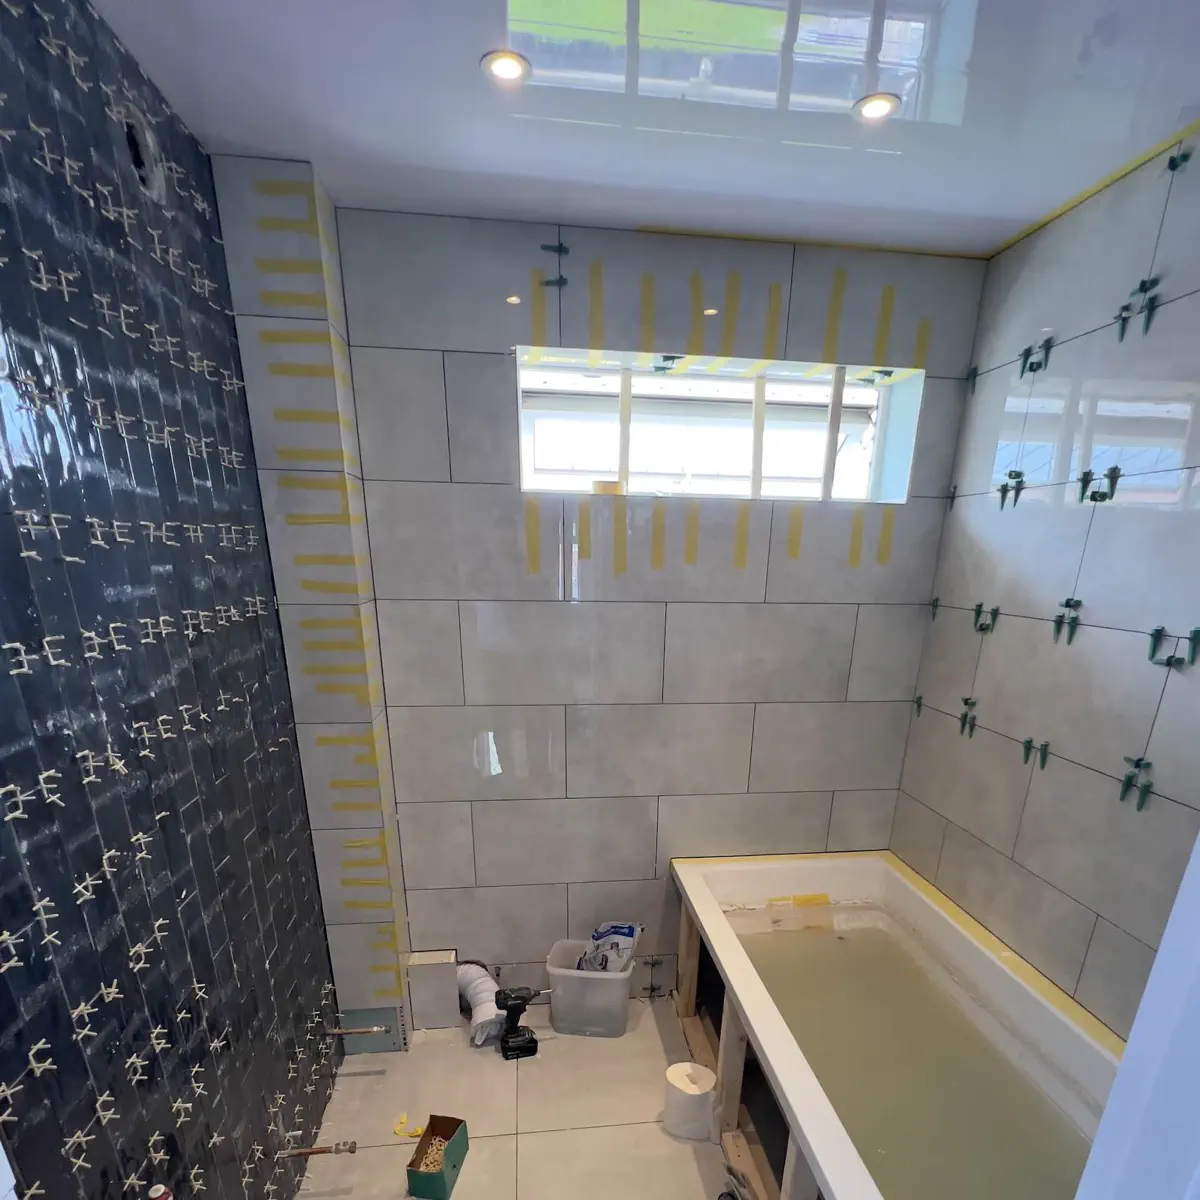
2. Moisture-Resistant Wall Installation and Sound Proofing
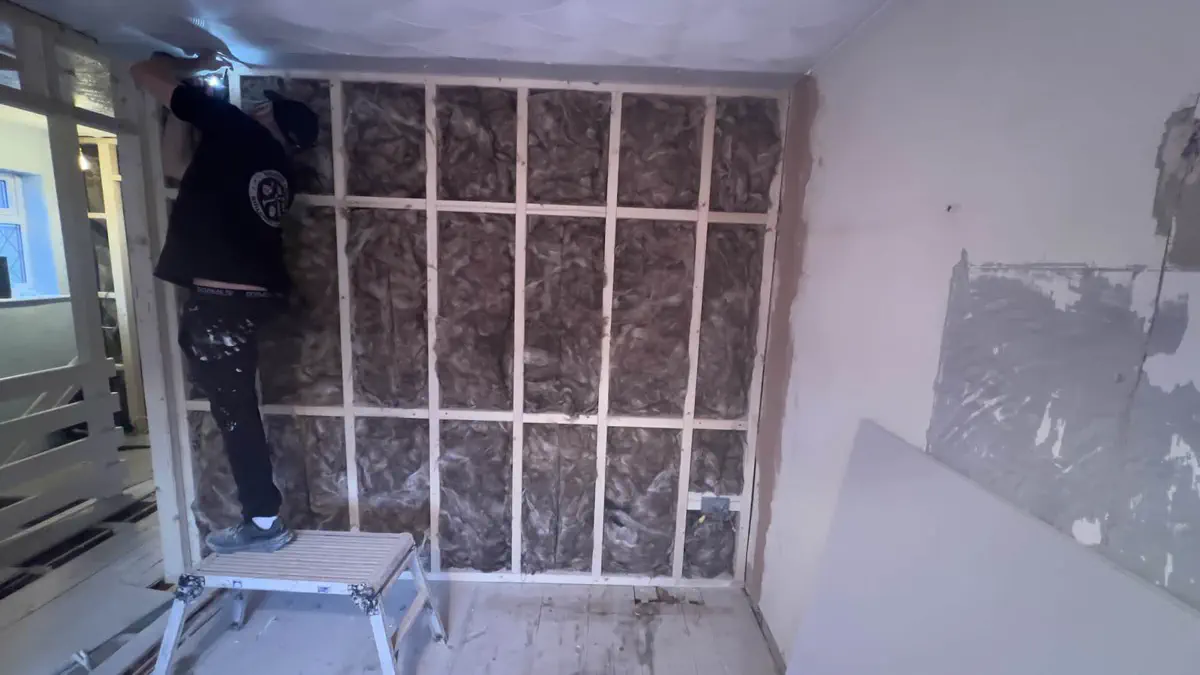
Before boarding the walls, we took an important step to enhance comfort and privacy by adding sound insulation within the stud cavities. This is often an overlooked part of the process, but it’s crucial in family bathrooms where noise from running water, drainage, and other activities can easily travel to adjacent rooms. The insulation helps minimise this sound transmission, creating a quieter, more peaceful bathroom environment. Next, we installed green moisture-resistant plasterboards. These specialised boards are ideal for high-humidity areas like bathrooms, offering superior protection against dampness compared to standard plasterboard. We carefully taped and sealed all board joints and screw holes in preparation for the waterproofing phase, ensuring a solid foundation for the next steps of the bath installation.
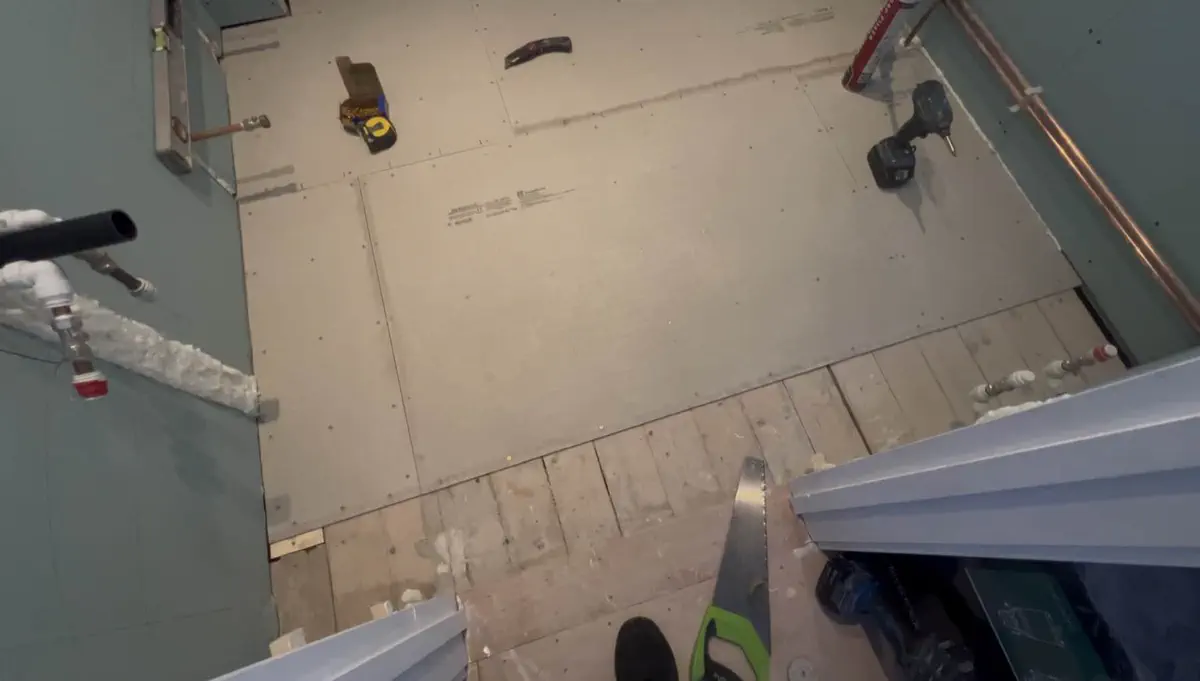
3. Floor Reinforcement and Preparation
For the flooring substrate, we chose cement boards, which are ideal for wet environments like bathrooms. These boards are a top-tier, industry-approved choice for floor tiling, offering exceptional dimensional stability, compressive strength, and superior water resistance. When installed properly — fully bedded and securely screwed into the subfloor — cement boards provide an ultra-stable, non-flexing base that supports both the bath and tiles, preventing any risk of movement or cracking over time. Unlike traditional materials such as plywood or chipboard, cement boards offer significantly better long-term durability, especially in high-moisture areas or spaces that see a lot of use. In this project, their use was crucial because the bathroom is adjacent to a staircase, an area susceptible to slight vibrations and structural movement. Cement boards absorb and dampen these vibrations far more effectively than timber, greatly reducing the chance of cracked tiles or loose grout down the line. For these reasons, cement boards weren’t just a logical choice — they were essential to ensuring the floor’s durability and the bathroom’s overall longevity.
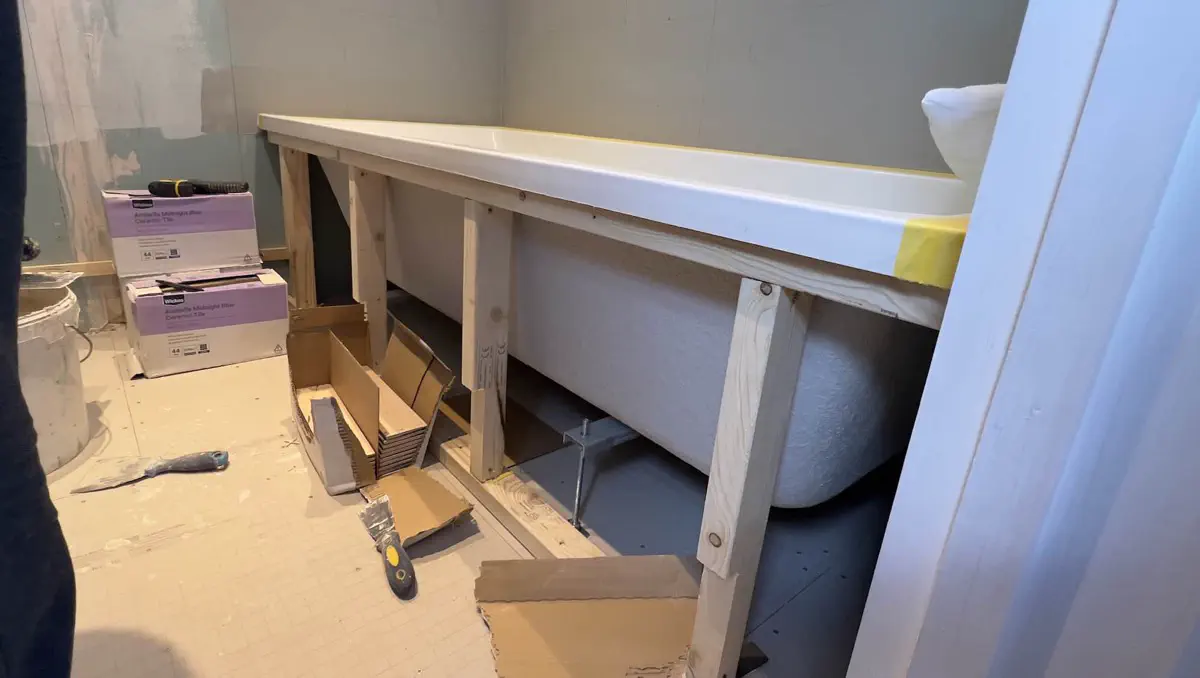
4. Bath Selection and Frame Construction
The chosen bath was a 7.5mm thick square acrylic bath. For a detailed comparison of bath materials, shapes and brands, see our guide to choosing the best bathtub. Thickness matters — thinner baths (2–4mm) tend to flex, leading to sealant cracking and eventual leaks. A 6mm, 7mm or 8mm bath is significantly sturdier and retains heat better, making it ideal for regular family use. The square shape was a deliberate choice. Compared to curved or rounded baths, square baths offer more internal leg room, making them more comfortable and suitable for both adults and children. Although the bath came with standard brackets, we built a custom bath support frame.
This was done for two main reasons:
- To prevent any bath movement during use, which can compromise seal integrity.
- To allow precision fitting of the bath panel later in the project, creating a clean, professional finish.
5. Waterproofing and Tanking
Before fitting tiles or finishes, we applied a full tanking membrane and waterproofing kit (from Mapei brand), a trusted brand in the industry. This included a liquid membrane over the walls surrounding the bath and wet zones, as well as sealing tapes at all board joints, wall-floor connections, and around pipe penetrations. This step ensures that any water penetrating the tile surface cannot reach the structure, preventing long-term damage and mould growth.
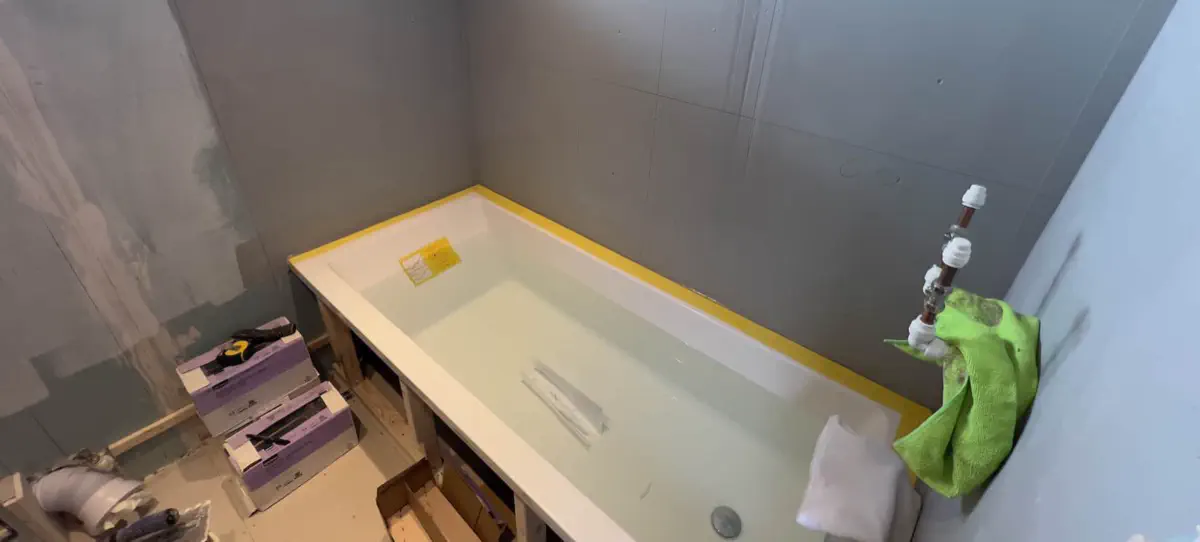
6. Bath Installation: Key Techniques
With the structure and waterproofing complete, the bath was set into place on the custom frame and securely fixed. Critical detail: We filled the bath with water during the sealing process. This step ensures the bath is under full weight load, allowing the silicone sealant to flex correctly and prevent cracking once the bath is later used. Once cured, the silicone forms a watertight seal that won’t pull or separate when the bath is filled.

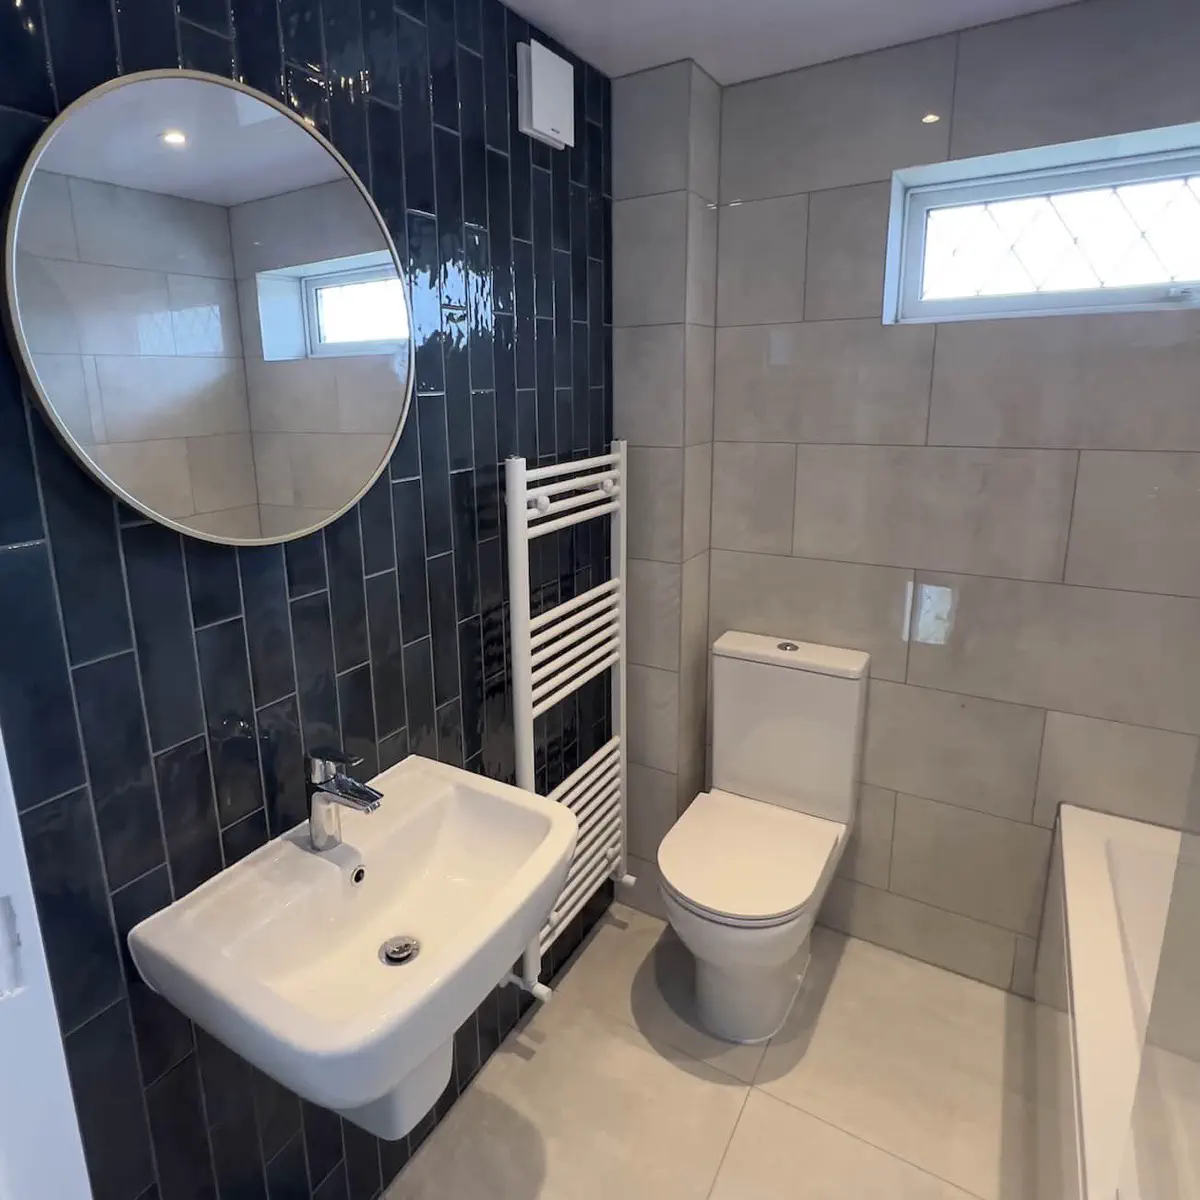
7. Ceiling and Final Finishes
For the ceiling, we opted for composite ceiling panels. These were chosen for their:
- Water resistance (ideal for high-moisture environments)
- Low maintenance (easy to clean, no painting required)
- Affordability, which made them suitable for a mid-range budget renovation
This choice also tied in with the overall goal of creating a low-maintenance but high-performance bathroom.
8. Purpose Behind Shower-to-Bath Conversion
A significant part of this bathroom remodelling was replacing a shower with a full-size bath. This decision was driven by the fact that the house will be occupied by a family with young children. For more on designing bathrooms around family needs, see our guide to family-friendly bathroom design. Baths offer:
- Greater versatility for young families (children’s bathing, cleaning, etc.)
- Improved resale value in family-oriented housing markets
- More relaxation options for adults while retaining practicality
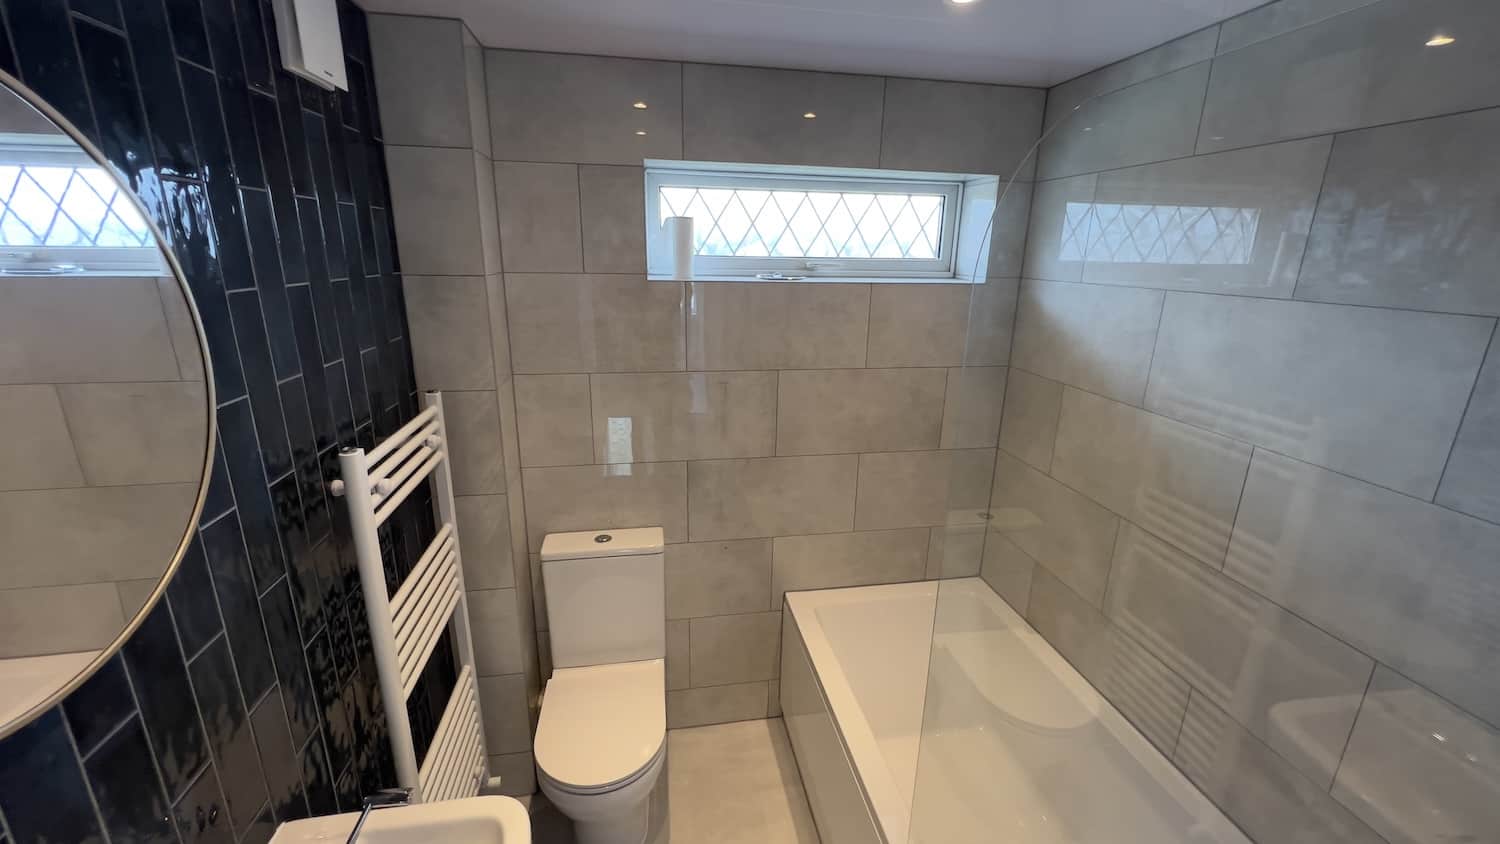
Final results..
Frequently Asked Questions
Why did you replace the shower with a bath?
Why choose a square-shaped bath over a curved one?
Is a 6mm, 7mm or 8mm acrylic bath really necessary?
Why did you build a custom frame under the bath?
Why was the bath filled with water before sealing?
What kind of wall boards (plasterboards) were used and why?
What was used for the flooring base and why?
Why was a Mapei tanking kit used?
Was the plumbing redone for this renovation?
Past Projects


Get a Free Quote
Book a free, no-obligation site survey. Call us on +44 7428 653 653 or request a callback.
Book Free SurveyOur Clients' Reviews

5/5

5/5

5/5

5/5
Based on 453+ verified reviews across all platforms
Related Articles

Top 10 Shower Mixers You Can Buy in the UK
Why Your Shower Mixer Matters The shower mixer is the heart of your shower system. A good one delivers stable temperature, consistent flow and reliable performance for years.
view this article Read more
Hiring Bathroom Fitters in Manchester: Costs, Process and Advice
What Manchester Homeowners Need to Know Before Hiring Renovating a bathroom is one of the most rewarding home improvements you can make, and one of the easiest to get wrong if you hire the wrong people.
view this article Read more
GROHE Grohtherm 800 Thermostatic Shower Mixer Review
An Installer’s Honest Assessment We fit dozens of thermostatic shower mixers every year across Greater Manchester bathrooms and shower rooms. Some arrive in impressive packaging and disappoint within months.
view this article Read more
Bathroom Renovation Guide: Every Stage From Start to Finish
What a Bathroom Renovation Actually Involves A complete bathroom renovation is one of the most rewarding home improvement projects you can undertake, but it is also one of the most misunderstood.
view this article Read more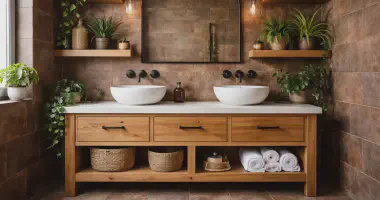
Complete Bathroom Overhaul: When to Strip Out and Start Fresh
When Does a Bathroom Need a Complete Overhaul? A fresh coat of paint and a new shower curtain can carry a tired bathroom only so far.
view this article Read more
What You Need to Know Before Starting a Bathroom Renovation
The Planning That Makes or Breaks a Bathroom Renovation The difference between a bathroom renovation that finishes on time and on budget, and one that drags on for weeks with spiralling costs, is almost never about the quality of the tradespeople.
view this article Read more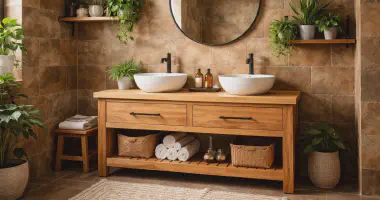
Bathroom Tap Finishes: Chrome, Brass, Matt Black and Beyond
The Finish You Choose Outlasts Every Other Bathroom Decision Tiles can be re-grouted. Paint can be refreshed in a weekend. But the finish on your taps, shower valves and accessories is permanent for the life of the fitting.
view this article Read more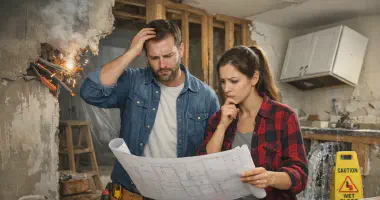
Bathroom Renovation Mistakes and How to Avoid Them
Why Bathroom Renovations Go Wrong Most bathroom renovations that end badly were doomed before the first tile came off the wall.
view this article Read more
Electric Shower Not Working? Expert Troubleshooting Guide
Why Electric Showers Fail and What You Can Do About It Electric showers heat water on demand using a powerful element, drawing between 7.
view this article Read more
How Small Businesses Are Being Targeted by Fake Negative Reviews
What Fake Reviews Look Like Fake negative reviews usually follow a recognisable pattern. Some common red flags include: Vague or generic complaints – Reviews that lack specific details about the service, product, or experience.
view this article Read more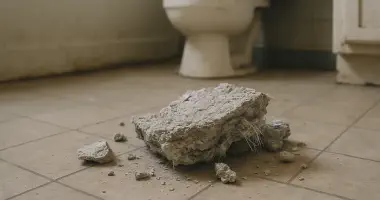
Asbestos in Bathrooms and Kitchens: Risks, Safety and UK Law
What Is Asbestos? Asbestos refers to a group of six naturally occurring silicate minerals made up of fine, durable fibres. Because of its strength and fire resistance, it was commonly used in insulation materials, roofing and flooring products, cement compounds, automotive parts and fireproof textiles.
view this article Read more
The Best Toilet Brands for Your Home: A UK Buyer's Guide
Choosing a Toilet Brand: What Actually Matters Selecting a toilet brand might seem less important than choosing a specific model, but the manufacturer behind your toilet determines the quality of the ceramic, the reliability of the flush mechanism, the availability of spare parts years down the line, and the level of after-sales support when something eventually needs attention.
view this article Read more